
How to Design a Bar Floor Plan, Layout and Blueprint
What is a bar floor plan? Why do you need one? Here’s how to choose a bar floor plan and design your layout.
Tyler MartinezAuthor
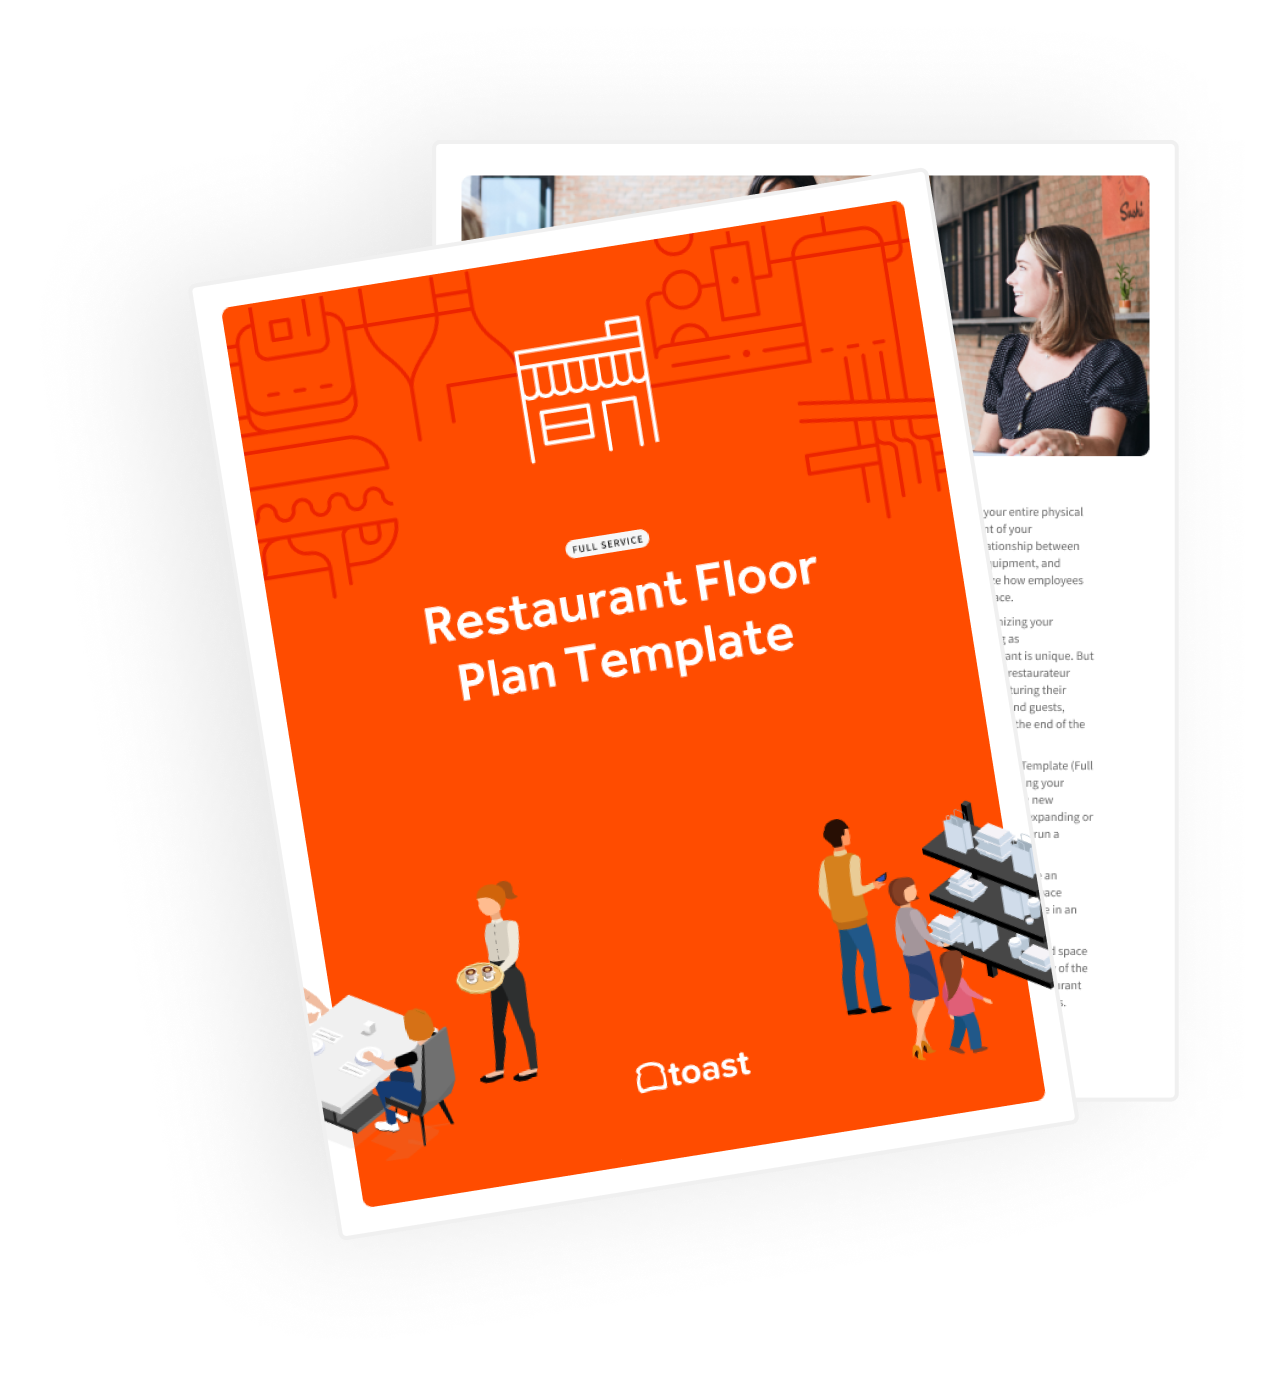
Restaurant Floor Plan Templates
Use these restaurant floor plan templates to get inspired as you map, or reimagine, the layout and space setup for your restaurant.
Get Free DownloadThe floor plan of a bar should be well thought out and accessible to all guests. It’ll need to give customers plenty of space, as it’s a place where people gather to enjoy the delicious drink of their choice with friends and other customers, after all! So you’re going to need to accommodate plenty of customers, and a bar or restaurant floor plan can help.
In the U.S., you need to submit blueprints to the state for building permits before you can get started on constructing your bar, and this means that a bar floor plan is crucial and necessary. Trying to find ways to create a bar floor plan? Use this complete guide to create a space for your community to gather and celebrate.
Key Takeaways
Utilizing Software or Interior Design Studios is Ideal for a Floor Plan: A range of software is available to aid you when producing accurate bar floor plans on your own, or you can request the support of interior design studios.
Various Areas in the Bar Need to be Planned: A wide range of areas and zones in the bar need to be planned to enhance the customer experience and account for customer flow.
Permits and Building Codes Need to be Considered: Before you put your bar floor plan into action, you’ll need permits and to acknowledge building codes that apply to your state or area.
Restaurant Floor Plan Templates
Use these restaurant floor plan templates to get inspired as you map, or reimagine, the layout and space setup for your restaurant.

What Is a Bar Floor Plan?
When we talk about a bar floor plan, we’re referring to a type of blueprint for each zone or space in the whole bar – the dining room, ordering queue, bathroom, kitchen, bar space, storage for glassware, and any outdoor space. The floor plan will help you map out how all the zones within your bar will fit together.
When you’re creating a bar floor plan, you’ll need to think outside of the box; the floor plan must bring together your aesthetic preferences for the restaurant with the accessibility of the space. Both of these concepts, navigation and ambiance, are crucial.
A bar floor plan should include:
A full bar
Prep areas
The kitchen
Dining and seating areas
The entrance
Outdoor seating areas
Entertainment area
Staff areas, offices, and break rooms
Your restaurant POS system and cashier stations
Restrooms
A glassware and dishwashing area
Doors
Windows
Emergency exits
Accurate measurements of the space
How to Create a Bar Floor Plan & Blueprint
No matter if you’re the owner of one of the wine bars in your state, a bar that offers beer or trendy cocktails, or a bar that provides entertainment, the bar layout and environment are crucial. Now, you’ll be pleased to know that you can create the bar floor plan with software or with a little extra help, as mentioned below.
Floor Plan Software Options
Software is a handy tool to help you design the bar floor plan. Options such as SmartDraw, ConceptDraw, or CadPro are among the best options to help you create a floor plan blueprint customized to the specifications of your bar.
SmartDraw: This advanced tool will let you plan out the bar floor plan wall by wall, fixture by fixture. Since it features many templates that you can customize, as well as ready-made symbols for appliances, windows, and doors, it’s ideal for a range of projects. You’ll even be able to work on one floor plan with others since you can use this SmartDraw software with file-sharing apps.
ConceptDraw: Use ConceptDraw for your bar floor plan, and you’ll have access to plenty of technical drawing floor plan samples and templates. These are available within the ConceptDraw DIAGRAM feature, and here, you can draw each dimension and specify the sizes of the rooms and wall lengths. It can take just a few minutes to create your bar floor plan with this software.
CadPro: You’ll also want to consider CadPro, which anyone can use—whether they’re just getting started with floor plans or are a complete expert. With a Smart Dimensioning tool, this software can potentially create the floor plan dimensions automatically.
Interior Design Studio to Create a Bar Floor Plan
What you can also do if you’re a design novice is to work with an interior design studio to bring your ideas to fruition. A designer will have the skills to help you make the design cohesive and aesthetically pleasing, which will take the customer experience to the next level.
You’ll want to share ideas of what areas of your bar will be used for what functions. For instance, you may allocate space at the back of the bar to the storage or office or the middle of the bar to the seating area.
It’s with the interior designer that you’ll even be able to choose paint, decorate, and purchase furniture that offers functionality and is beautiful. But before all this, let’s look at that floor plan in greater depth.
Bar Floor Plan Design Best Practices
Now, you’ll need to create accessible spaces that align well with the people who are going to use them. Consider customers’ and employees' needs, as well as local building codes and the following best practices when designing floor plans for all of your bar’s spaces.
Wait Space Allocation: If you’re going to have customers receiving drinks in the bar, you’ll need to allocate space to the wait area. We’ll look at the space allocation in more detail further down, but remember that the space needs to be taken from 60% of the bar’s total square footage.
Staff Break Areas: You’ll need to allocate space to the staff break areas in your bar floor plan. This’ll require you to select a space that works within a 40% threshold of the total square footage.
Beverage and Food Service Flow: The flow of service needs to ensure customers can receive beverages and food easily and, at the same time, make sure customers don’t have to be confused when they enter. For instance, to be efficient during service, you’ll need to allocate space for the bar and ensure it’s easily visible to customers so they know where to order or start a tab.
Create Space for Your Guests to Take a Seat: If your bar will also offer table service, allocate space for your guests to take a seat. This’ll need to be taken from 60% of the total square footage in the bar floor plan.
POS System Placement: Think about how and where customers will pay for their beverages. If they need to approach the bar to settle a tab, you’ll want a POS system in place at the bar. In the example below, two POS systems are installed on the bar for easy access and fast payments.
Bar Floor Plan: Key Area Sections
Your perfect bar floor plan needs to consider a few bar area sections. So, when you’re planning, don’t miss the sections or area zones listed below and the tips we’ve got lined up to help you execute the design perfectly.
Full Bar Floor Plan
Design the bar so that it’s intuitive – for this, you may want to consult with actual bartenders for feedback. Industry experts know how the flow of bar service works best – no reason to reinvent the wheel.
Inventory Management and Storage: Your bar is going to need an inventory management and storage area for drinks and other items. Remember that storage space and inventory management need to fit into 40% of the entire square footage of your floor plan, and you can allocate the right amount of space by measuring the total space.
Bar Counter Layout: Your menu and processes should inform the layout of the bar. Consider what stations are near each other, how many bartenders will be working on a shift, the shape of the bar (L-shaped or U-shaped) and the service capacity of your bar.
Also, consider the space where your guests or servers interact with bartenders. Be sure that a pickup counter or bar top is accessible. How will your bar let customers know where to go? Consider training your staff to guide guests through a seamless experience.
Space Allocation Behind the Bar: It’s also crucial to allocate space to the zone behind the bar. Now, this will need to be an aisle that measures approximately 37 inches (almost one meter). But if you’re using barbacks, stick to one meter or slightly more in the floor plan.
Bar Kitchen Floor Plan
Bar kitchens likely have limited operation but shouldn’t be an afterthought. Plan carefully to make the most of the space you have by considering the tips we’ve gathered in the sections just below.
Storage Areas: Leave enough room for bar equipment storage, storage for cleaning supplies, and space for your cooks to prep and plate food or snacks. The storage area needs to fit within 40% of the entire space and should include cupboard space and shelving.
Food Prep Areas: Cooking in a cramped kitchen creates a bad experience for everyone. Plan your bar’s kitchen carefully so that your cooks have ample space to prepare and serve food. In the floor plan, you might want to include a large island in the kitchen and allocate sufficient space to move around it so your staff can prepare the food.
Dish Washing Space: You’ll want to incorporate a dishwashing space for the glassware and plates. You might want to include a large sink and dishwasher in the bar floor plan for this, which requires you to measure the space and ensure these units fit perfectly.
Staff Area Floor Plan
Staff areas such as offices and break rooms should be included in your floor plans. Be sure to set aside some of the back-of-house space for your managers to complete administrative tasks.
Office Space for Schedule Posting: Designating an area for staff can help keep your bar organized by providing a central place to post schedules or staff announcements. You’ll need an office space for this, which should fit within a 40% margin of the entire space. Within the office space, include zones for checking those schedules, which you may organize with employee scheduling software.
Break Room Space Allocation: Here, you’ll want to include seats for your employees to unwind and relax when on breaks, so measuring the width and length of the space is important to ensure each seat fits perfectly in the bar floor plan.
Bar Seating Floor Plan
There are a lot of creative ways to arrange bar seating. It’s important to consider the split between the space required for guests and the space required for staff. This split is a 60/40 ratio. So, as mentioned. 40% of the space is used for prep, the bar, and the kitchen, and 60% for guests and seating.
Seating Distances and Occupancy: Another critical step is calculating the spacing between seats. SeatingExpert.com suggests setting 18 inches between each occupied chair, 42-60 inches between each square table, or 24-30 inches between corners of diagonal tables to create enough space for each guest.
Accessibility in Bar Seating: Spacing tables further apart and creating wide lanes for traffic is a great way to make your bar seating area accessible to people with disabilities. Offering different styles and kinds of seating, such as wide booths, tables, and bar stools, will also ensure that there’s an option that everyone is comfortable with. And different seating options open up more design opportunities.
Entrance Floor Plan
The entrance is the first impression your guests will get of your bar, so it’s an important factor to think about, as well as its décor. Here’s how you’ll be able to do this:
Visual Appeal: Craft a welcoming entrance space that invites guests in, offers a stunning visual appeal, and provides them with crucial information about how to navigate the establishment. Doing this might involve incorporating the bar name and brand and integrating the right lighting, so you’ll need to add these elements to the bar floor plan and place them strategically.
Exterior Design: Since you’ll want to invite customers into your bar, use signs or architecture on the exterior of the bar floor plan. These will encourage them to move in the right direction. For instance, you might incorporate a canopy or a front terrace or patio into the design and align these elements with the theme of the bar to reflect and enhance your brand.
Entertainment Area Floor Plans
Do you plan on hiring local bands to perform or hosting open mic nights and offering the perfect venue? You might want to reserve a space for a stage as well as sound and lighting equipment to bring this idea to life. For this, we recommend the following:
Select the Type of Entertainment Area: So many types of entertainment areas are offered in bars, from karaoke entertainment to dance floors to DJ entertainment. You’ll need to select the type of entertainment and then consider where to place this in the floor plan by measuring the space and mapping it out in the software.
Consider the Measurements: For the 60% of the space you allocate to customers, you’ll need to divide this into seating and entertainment. This means you might allocate space to the entertainment area and to the seating You’ll need to measure the entertainment area and then incorporate this into the design.
Restroom Floor Plan
According to Chainstoreage.com, nearly 60% of Americans willingly spend more money in a business or restaurant that has well-maintained bathrooms, and 63% make a point to stop at these establishments. This is why you’ll need to prioritize an excellent restroom floor plan. So, consider the tips below to achieve this.
Restroom Location Considerations: Your establishment is going to need restrooms that are spacious enough for guests to navigate and easy to access from the bar or seating areas. They need to be out of the way so that customers don’t have to access them through a staff area, so add them to your plan, perhaps toward the back of your bar.
Accessibility Requirements: Accessibility means ensuring that all your customers can use the spaces in the bar—especially the restrooms. Now, this means you’ll need to consider aligning your floor plan with the American Disabilities Act, that states lavatories need to be a minimum of 17 inches in horizontal depth. You’ll also need to ensure the rim isn’t higher than 34 inches above the finished floor.
Cashier and POS Station Floor Plan
When considering cashier and POS positioning for your bar floor plan, it’s ideal to consider how they integrate with the service flow. You can do this by thinking about where to place them in the bar using the following suggestions:
Terminal Placement: You’ll be able to facilitate the service flow by establishing a cashier station (or a few) along your bar and more around the seating dining area. Plan to place point-of-sale POS stations where they can reduce the legwork required by your employees.
Handheld Options: Or, you might use handheld POS devices that your servers and bartenders can take to your guests to save everyone time before they serve each customer. For instance, in the example below, bar owners may place a handheld POS system on the bar and one to take payments with products from tables.
Bar Business Plan Template
Use this free bar business plan template to easily create a great business plan that organizes your vision and helps you start, grow, or raise funding for your bar.
Emergency Exits Floor Plan
Bar floor plans must consider emergencies and emergency exit rules – to do this, make sure to use the design software of your choice to map emergency exit routes. Be sure to communicate those routes to your staff and clearly mark external exits for customers. You’ll need to include egress paths and think about safety regulations, too:
Egress Paths: When you’re including egress paths, remember that no furnishings or other items in the floor plan should block this path. Ensure you keep the path clear when creating the floor plan and constructing your brand-new bar.
Safety Regulations: Your exit routes will need an exit sign, and you’ll need to clearly mark them so that they’re easy to identify in an emergency situation. Ensure you incorporate these signs and mark where you’ll display them on the floor plan with an annotation on the software.
Accessibility Requirements for Bar Floor Plans
At the very least, you’re going to need to adhere to building codes to comply with accessibility requirements. Doing this’ll ensure that all your customers can access and make use of the space with ease. You’ll need to consider the accessible seating and the surrounding spaces.
For instance, you’ll need to provide at least 5% of the number of seats and standing spaces in line with ADA requirements or round this up depending on the amount of space you have at your disposal. You’ll also need to consider that your bar top should provide 19 inches of leg clearance from the finished bar front.
How to Choose a Bar Floor Plan
Whether you’re working with a design team or doing it all in-house, these following sections will give you an idea of what goes into creating bar blueprints and floor plans.
Available Space
First and foremost, you’re going to need to determine the available space, which requires you to measure the walls and floors. You’ll then need to consider the customer flow and work out how many customers will fit comfortably in the space. You’ll then be able to turn your attention to the top and back of your bar, ensuring the bar layout is accessible to bartenders.
Space Allocation Priorities
Keep in mind the 60/40 ratio between the customer and staff space mentioned above; 60% of the space is ideal for the customers, while 40% of the space is ideal for staff areas. We’ll look at an example of this here to help you determine how much space to allocate.
In a bar that measures 3200 square feet, 60% of this would be allocated to customers (1920 square feet). In terms of the staff space, such as the office, 40% would be allocated to these areas (1280 square feet).
Permit Requirements
Getting the right permits for your bar is an obligatory step, and you’ll need to do this before building the new bar. Your floor plans need to be complete at this stage so you can hand them to state officials. There are variations in permit regulations in each state, so consult your county officials to get the right permissions for your bar.
Following this, a range of bar licenses and permits will provided, including a building health permit and a certificate of occupancy. These both declare and verify that the premises are safe for your customers to use.
Run Your Bar and Review its Performance with Technology from Toast
Now you’ve got your layout sorted, don’t forget to have fun and be creative when bringing it to life! Designing and executing the plans you carefully made for your bar is exciting – put all of your passion into the design process and the brand, and your customers will feel it.
And once you’ve finished and everything is finalized, you’re going to need a way to review your bar’s performance and begin to run it the easy way. With restaurant technology from Toast, this couldn’t get any easier! We’re proud to offer benchmarking tools and technology for measuring your inventory, which can aid you in keeping the bar running perfectly.
At Toast, we also offer kitchen display software and handheld POS systems so that if your bar serves food and you need to take orders, you’re fully equipped to handle these tasks. Run your bar with confidence! Keep your establishment performing perfectly with Toast!
FAQs
How Many Square Feet is a Bar?
This will depend on the size of the establishment. For example, if your bar or pub is smaller, this will likely occupy between 1,000 and 1,500 square feet—so you’ll need to consider a floor plan that aligns with this size if it’s a small bar. Alternatively, for a tavern-style (large pub or bar), this will be larger (between 1,800 and 2,000 square feet).
What Is the Minimum Space for a Bar?
Generally, this tends to be between 31 inches and 37 inches for the back bar aisle. In terms of the underbar equipment, this is going to need 24 inches, and the bar top will typically measure between 24 inches and 30 inches. Now, you’ll also need to think about the customer activity zone, which is around 24 inches.
Restaurant Floor Plan Templates
Use these restaurant floor plan templates to get inspired as you map, or reimagine, the layout and space setup for your restaurant.
Is this article helpful?
DISCLAIMER: This information is provided for general informational purposes only, and publication does not constitute an endorsement. Toast does not warrant the accuracy or completeness of any information, text, graphics, links, or other items contained within this content. Toast does not guarantee you will achieve any specific results if you follow any advice herein. It may be advisable for you to consult with a professional such as a lawyer, accountant, or business advisor for advice specific to your situation.
Subscribe to On the Line
Sign up to get industry intel, advice, tools, and honest takes from real people tackling their restaurants’ greatest challenges.
By submitting, you agree to receive marketing emails from Toast. We’ll handle your info according to our privacy statement. Additional information for California residents available here